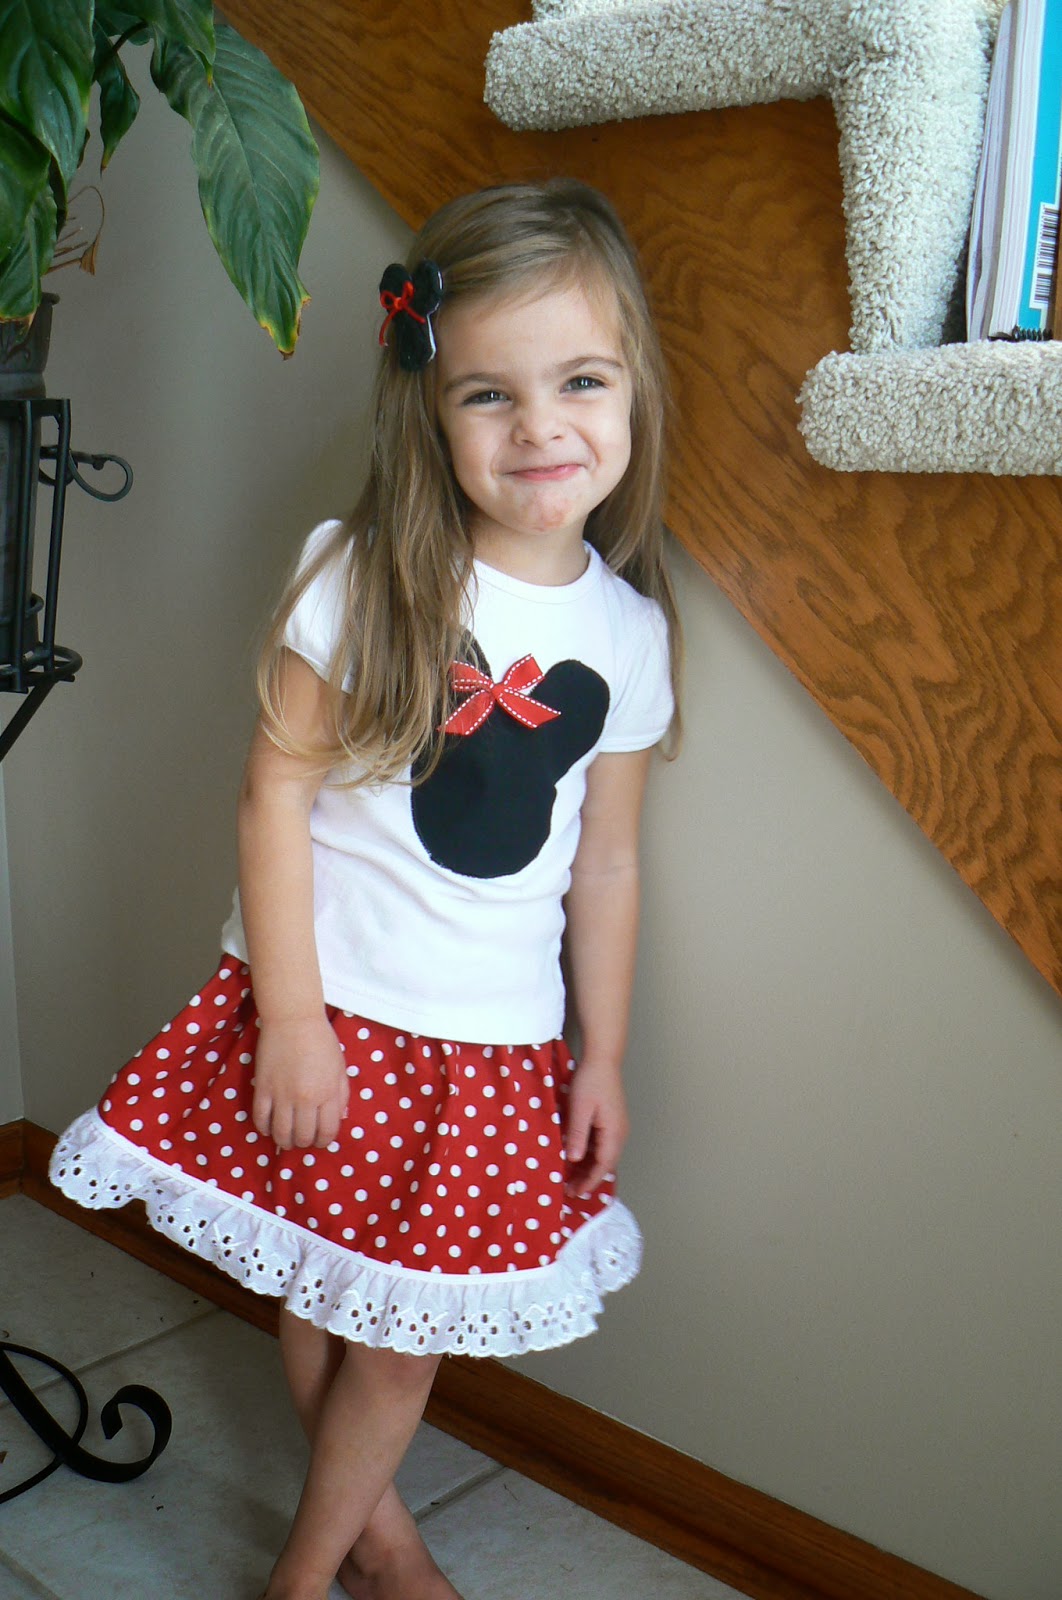
We made this little cutie for a friend's birthday party. Below my middle cutie models it and the t-shirt headband and flower we made to match.
A place to be encouraged to do the good things that God prepared in advance for you to do.
Showing posts with label Gifts. Show all posts
Sunday, November 17, 2013
Modified Pillowcase Dress DIY
I love simple sewing projects. Ones that look SO cute, but don't require a lot of know-how or time, because I'm short on both! The pillowcase dress is a natural for someone with those requirements, but there's just something about that ribbon through the neck collar that I'm just not super crazy about. That's why I was thrilled to find a simple modification using simple tank top style straps and a straight gathered neck-line.
We made this little cutie for a friend's birthday party. Below my middle cutie models it and the t-shirt headband and flower we made to match.
Saturday, November 16, 2013
Birthday BOWquet! DIY
So what do you get for a sweet soon-to-be five year old that tells you, "Mommy, just get me whatever YOU think I would like" for her birthday? Pinterest to the rescue! I'm a little obsessed. Can you tell? I knew there just had to be something fun and special for my "Sweet T". And I found the cutest bow bouquets and the price was AH-mazing. The only problem was, there weren't any available - poor girl probably figured out she couldn't make money with the great price she was charging. So, with a little MORE help from Pinterest - I found tutorials and wah-lah. Here's the birthday BOWquet.
OK, so my presentation needs work - there was no tutorial for presentation, but I've got to say - the individual bows were overall, pretty easy. You can find tutorials for them on my pinterest fabric crafts board. Here's a few close-ups so you can admire my handiwork one by one.
Now, while Pinterest IS an awesome tool for inspiration, just a little reminder to be careful what you search for. Let's just say that trying to find a homemade, washable face paint for my toddler, turned into a rather x-rated adventure, when I was a little too vague with my search terms.
OK, so my presentation needs work - there was no tutorial for presentation, but I've got to say - the individual bows were overall, pretty easy. You can find tutorials for them on my pinterest fabric crafts board. Here's a few close-ups so you can admire my handiwork one by one.
This peach one is SO easy and looks amazing - NO sewing, just a little hot glue and felt.
These boutique-style bows were definitely the hardest. I'm not sure why, but they just aren't as crisp or stiff as the real thing. It took a couple of tries to get the twisting and turning right and I'm pretty good with bows having grown up in a flower shop.
| I just HAVE to share the tutorial for the one above. This lady has a bunch of girls and she's not afraid to go BIG with her clips and her tutorial is just so great and her pictures are so beautiful that you really should check out her blog. |
The felt ones were all made by my kiddos.
Now, while Pinterest IS an awesome tool for inspiration, just a little reminder to be careful what you search for. Let's just say that trying to find a homemade, washable face paint for my toddler, turned into a rather x-rated adventure, when I was a little too vague with my search terms.
Maternity Gown DIY
So, when you find out you're having your fifth girl, you kinda start to wonder what you're going to do to set this one apart. Well, I found a little help on pinterest - here, here, here, and here. In fact, I probably found and pinned these maternity gowns before I even knew I was having another girl, but I was certain I wanted to sew one of these babies once I knew it was a girl. It just seemed like an appropriate way to make this baby doll's entrance into the world a little more special, and well, let's face it - why not look good (or at least BETTER) by trying to spruce myself up with a bit of color for those post labor pictures. So here's the finished product.
It seemed that all of the pictures I found sported a sash around the waist and while I never wore it during labor, it's pretty essential for pictures to help define that baby bump.
I decided to go for a sleeveless version after I followed the free pattern for a hospital gown found at Lazy Girl Designs and found that it pretty much looked like a big sack - which is just what hospital gowns look like, but certainly not the look I was going for. So I used their pattern - did I mention it's free? and then... I took my scissors to it. And I basically cut it down to the size of the dress shown in the picture below with an allowance for the seem. Yes, it was bold. No, it was not perfect. But hey, most people don't sew these days, so most people were easily distracted by the matching headband and flower sash.
Here's a picture of it "in action", actually at the hospital. Couple of things you should know if you undertake this feat. It cost me about $35 by the time it was all said and done. Yes, I used coupons. Yes, I got nearly everything on sale, that's just how much it was. No, you still cannot buy one for that, but for a hospital gown that's still pretty pricey for Miss Thrifty. I'm still considering cutting it up and making dresses for the girls out of it.
It seemed that all of the pictures I found sported a sash around the waist and while I never wore it during labor, it's pretty essential for pictures to help define that baby bump.
I decided to go for a sleeveless version after I followed the free pattern for a hospital gown found at Lazy Girl Designs and found that it pretty much looked like a big sack - which is just what hospital gowns look like, but certainly not the look I was going for. So I used their pattern - did I mention it's free? and then... I took my scissors to it. And I basically cut it down to the size of the dress shown in the picture below with an allowance for the seem. Yes, it was bold. No, it was not perfect. But hey, most people don't sew these days, so most people were easily distracted by the matching headband and flower sash.
My Tassimo House Party
I LOVE House Party. And I have good reason to love House Party. Ever since I applied to host my first party in the spring of 2010, I've experienced some pretty awesome products and been able to share some pretty special gifts with my guests. If you've never heard of House Party - stop on by their website and sign up to receive notifications for upcoming parties. Basically, it's a marketing program, kinda like a Pampered Chef type of deal, except there's no consultant and your guests don't buy anything. The hostess is selected based on a survey she fills out and then shipped a hostess package from the company she is hosting the party for. These hostess packages can be as simple as a coupon for a free product that you pick up at your local super market and then make and serve to your friends or they can include some pricey items that you may not buy for yourself, like the water bath canner I got from Ball. Oh yet, the parties that I like to apply for are the ones that either have really great gifts for the guests (like free Shutterfly Photo Albums) or a really great hostess gift - like the BRAND NEW TASSIMO machine that I got from Tassimo!!!
Minnie Mouse Birthday Gift!
My niece is turning two in a week and I'd pinned an outfit nearly identical to this months ago in anticipation of this big day. My little pumpkin is a bit bigger than my niece, so hopefully it'll fit her for a good long time. One of the nice things about having five girls is that I pretty much always have a mannequin to size my creations.
I'm really loving the rolled fabric clip in the shape of Minnie - I found a tutorial that made it "oh so simple".
I'm just happy that I was able to get it done in time, now getting it in the mail is another story. I can't stand shipping things. I'm not sure what it is about wrapping up a package, addressing it and actually getting it in the mail, but I fail at this on a regular basis. My poor sister got her birthday present late (not because I didn't mail it on time, but because of the post office) and inside the package were 6 or so belated thank you notes and general letters for another niece that my girls had written over the past two years that I had never mailed. I buy my stamps at Costco, so I can't even say that it's a lack of postage that keeps me from mailing them - just a mental block. Whatever. I'll get this little outfit wrapped up and out to the post office on Tuesday and hopefully my niece will be enjoying it by the weekend.
Subscribe to:
Posts (Atom)